The Event Attendance grid works slightly differently than some of the other grids in the software as there is no option to save views for this grid, however, you can customize your view for each event. The views are user-specific, so each user can customize their own view for each event.
Like other grids, you can move the columns dragging and dropping them into the specific locations. You can also shrink and stretch the width of the columns. To select which columns to view and hide, go to the Actions menu.

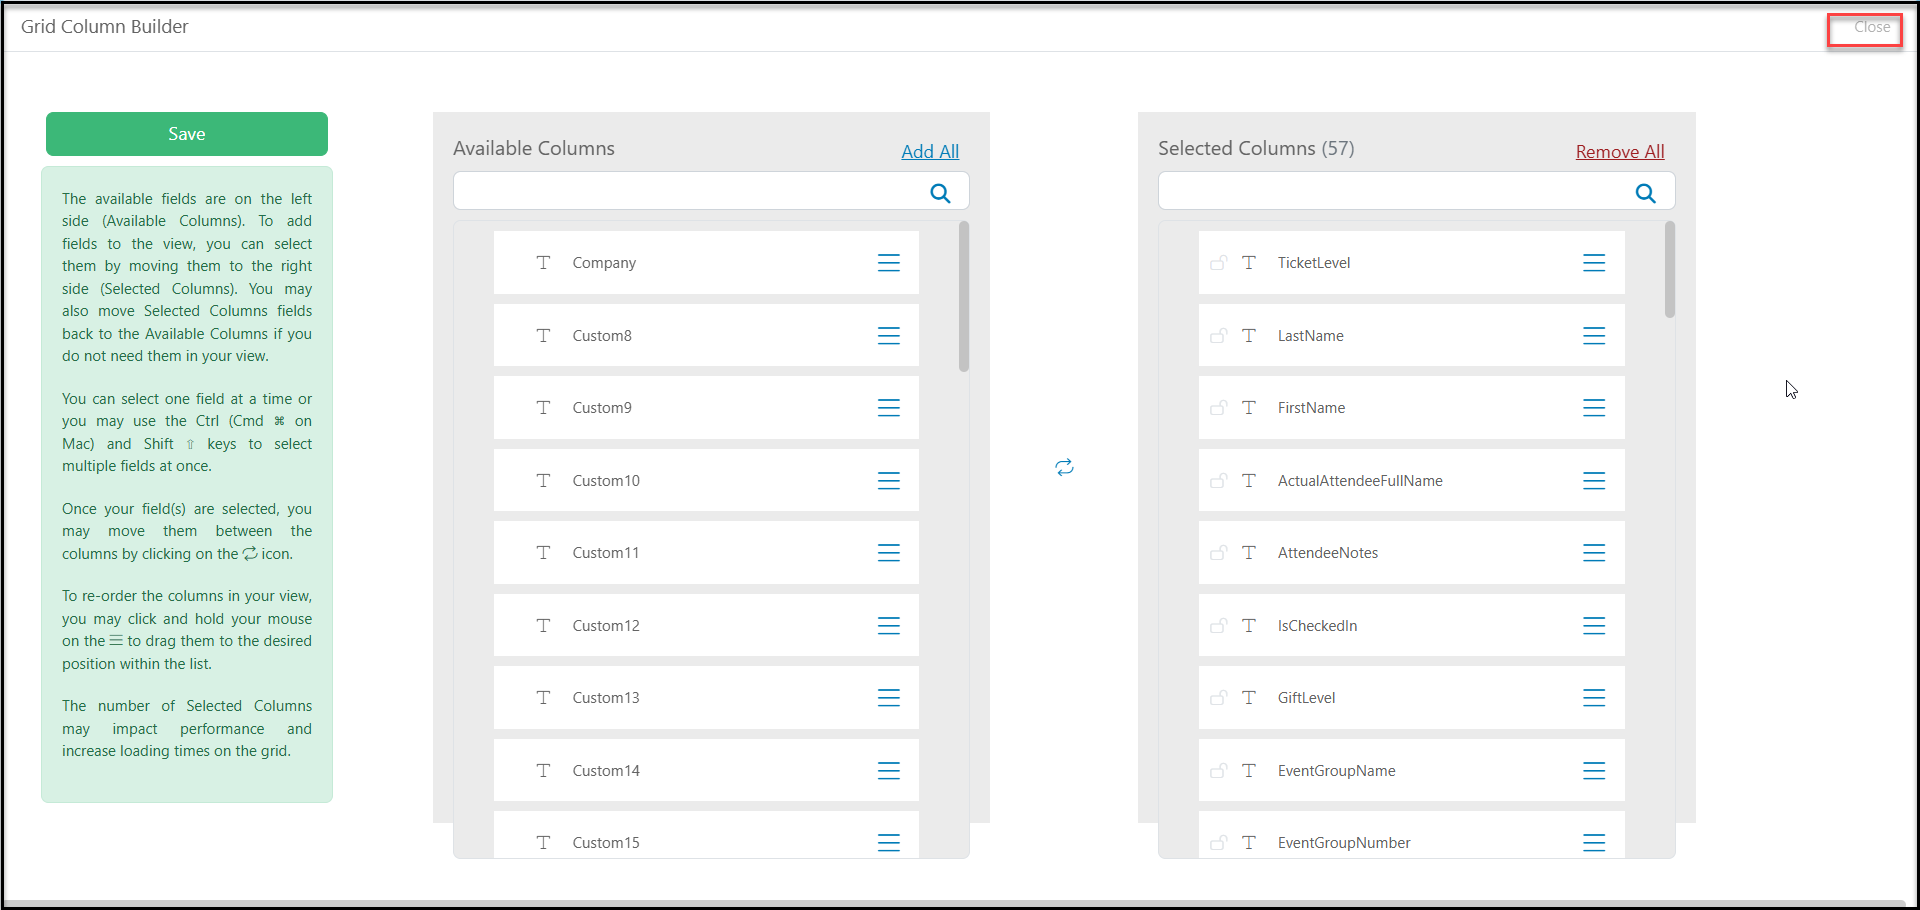
This will open the Grid Column Builder where you can choose which columns are shown under the Selected Columns on the right side of the page. Those listed under the Available Columns are hidden from the view. You can drag and drop the columns from one side to the other, or highlight the column and use the blue arrows between the columns to move them from one side to the other.
Columns labeled as "Custom #" are the custom attendee and event questions you can add when you create your event page. Be sure to include these columns in your view as needed to see the responses to any questions you created for your event page.
When you are finished selecting your columns, click on the green Save button. This will take you back to the grid. If you wish to close the Grid Column Builder without saving your changes, you can click on the Close link in the top right corner.
At the top of each column, you can use the three dots (column settings) to lock a column in place on the left side of the grid using "Set Columns Position."
You can also add filters using the columns settings, but filters will not be saved if you navigate away from the grid.
