
In order to host an event, an event page must be created. The event page is used to sell tickets, allow registration for free or volunteer events, and it gives you the ability to register guests internally.
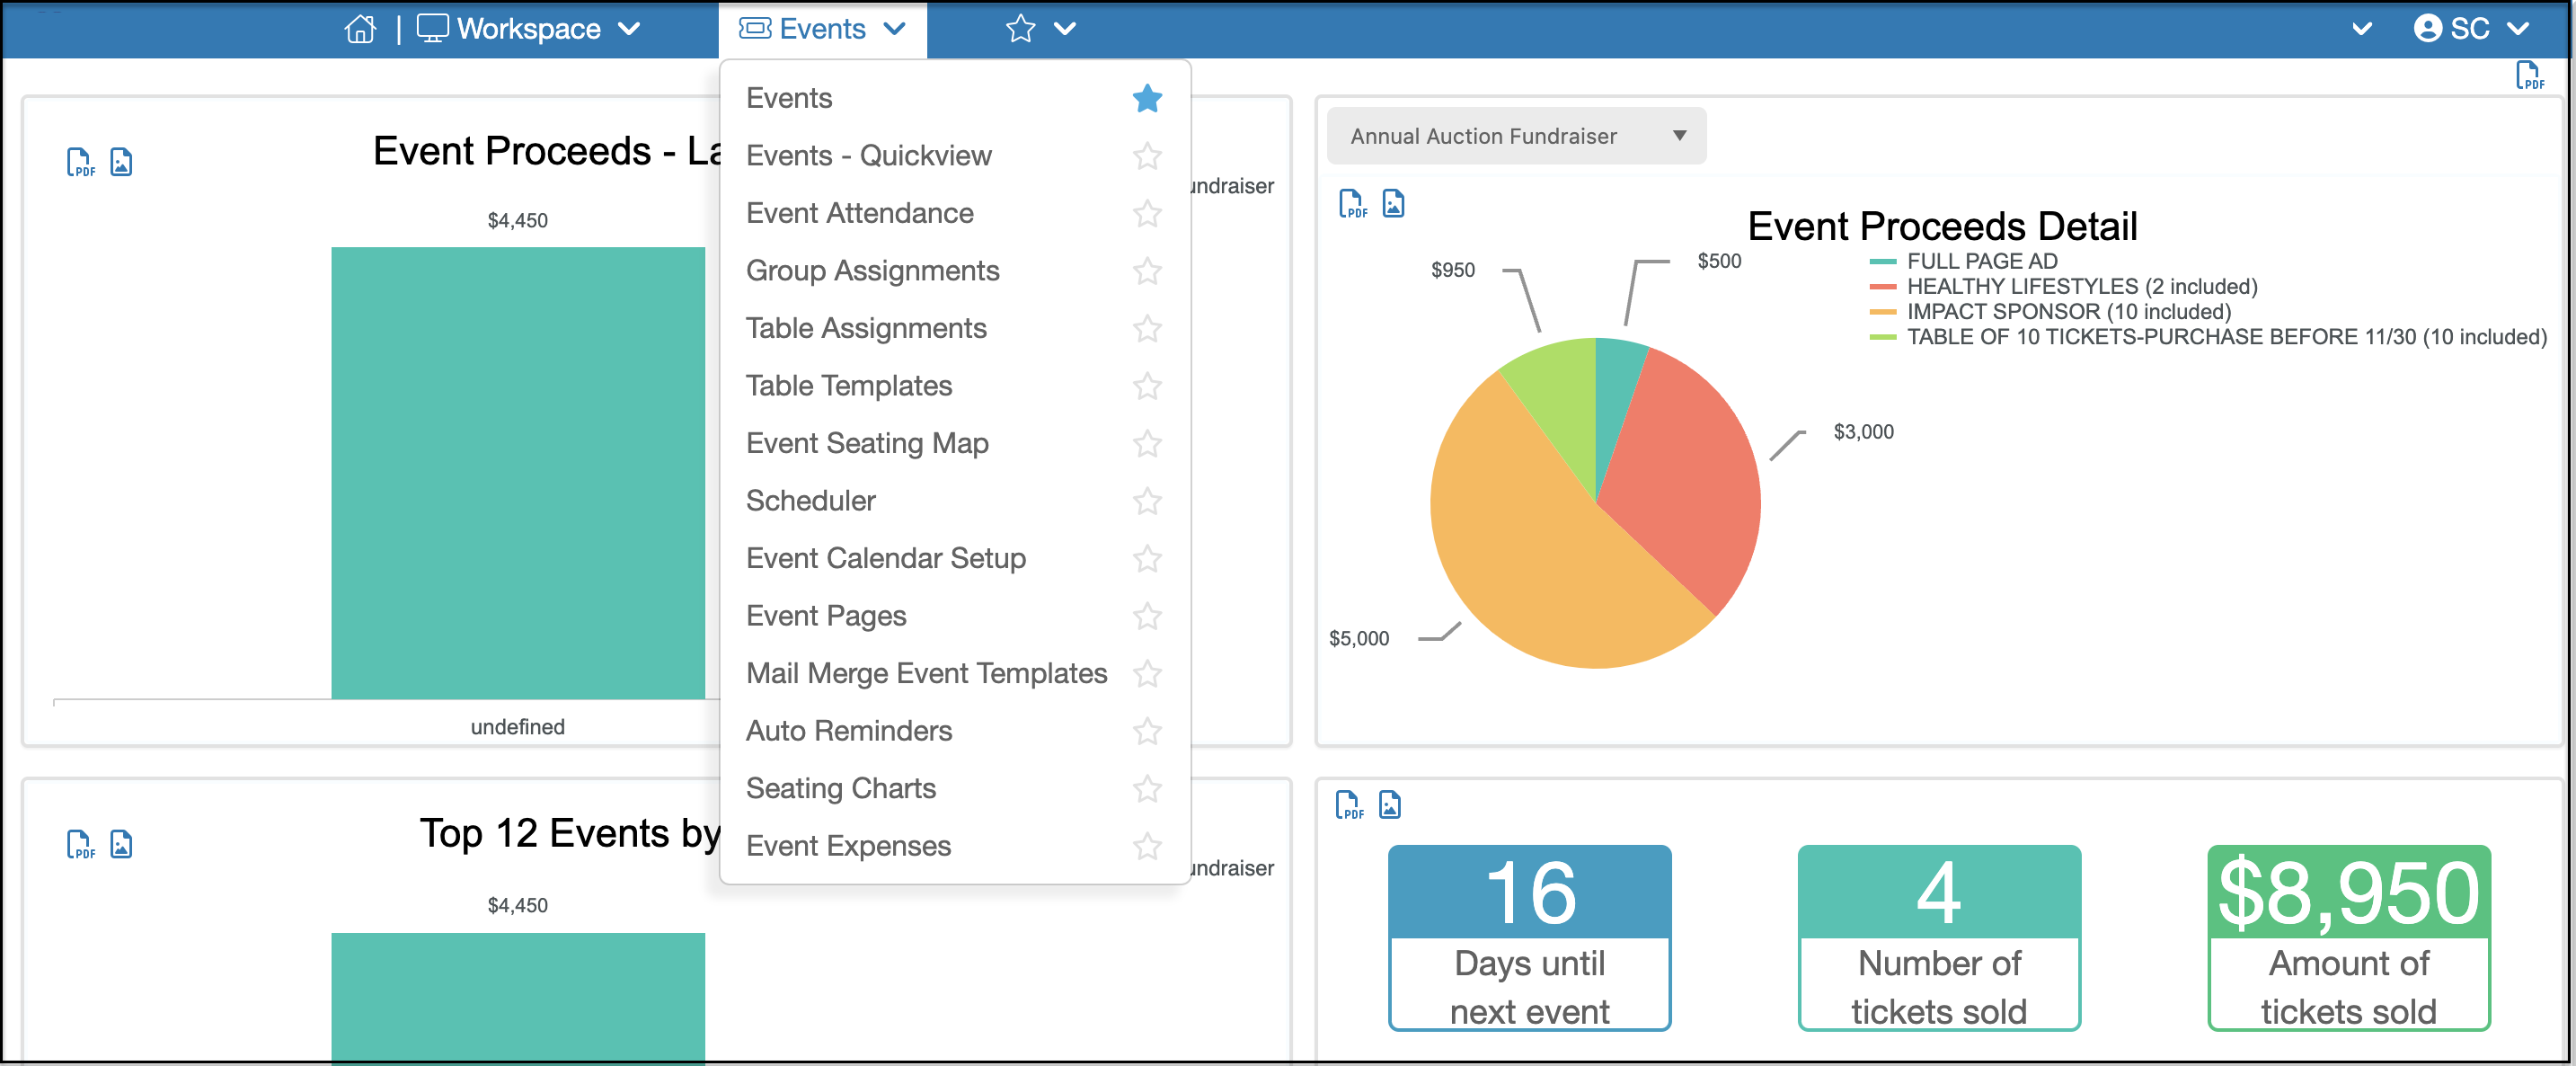
The Events Module has several sub-menu options including:
Events: This will take you to the main Event grid where you are able to add queries and filters the grid to view all purchases that have been made through your event forms.
Events - QuickView: Shows the information related to the event purchases without including all the financial data, helpful to quickly loading the data for headcounts and simple email and mailing lists.
Event Attendance: This option will take you to where you can manage attendee information, take attendance for an event, or look at attendance for past events.
Group Assignments: This option will take you to where you are able to assign event attendees to the groups you have setup for that event, for example assigning players to teams for a golf event.
Table Assignments: This option allows you to create an interactive form to create a table layout for your event and assign attendees to their tables and seats
Table Templates: If you use the same venue or table layouts frequently, you can create templates to utilize for any new events with Table Assignments activated.
Scheduler: Will show attendees registered for recurring events (like classes) either by the day they are registered or show all registrants for the entire event.
Event Calendar Setup: See connected events when they will occur on a calendar as well as create unconnected events when they will occur. Then share the calendar to your website.
Event Pages: Takes you to the grid where you can see links to all events, create and manage event registration pages, and manage your event calendar widget.
Mail Merge Templates: This option will take you to the Mail Merge Library where you can store and edit templates to send to constituents using the Actions menu from the main Events grid.
Auto Reminders: This option will allow you to set up automated email campaigns that can be sent to your event attendees.
Event Expenses: This option will allow you to track any expenses associated with your events.
Organizations that utilize the theater seating options will also see:
Event Seating Map: Allows you to see a map of available and sold seats in a chart.
Seating Charts: This option will allow you to set up a seating chart for your event. You also will need to have Seating Chart turned on and choose the corresponding Seating Chart for your event under the Seating Chart dropdown on your Event Page.
The basic flow for creating, promoting and managing an event includes:
1. Create your event registration page from the Event Pages grid. This consists of several steps including:
- Acknowledgement Info - This tab is where you will add the name of the event, event category and the email sender information for the confirmation email.
- Event Settings - Includes the time & location, internal notifications, financial information, page content with general information about your event and images, ticketing and scheduling, and options for connecting the event page to auctions, peer to peer campaigns and the volunteer module.
- Event Setup - Where the different ticket levels, add-ons, attached documents and coupons are created and and managed.
- Attendee Info - Use this tab to collect attendee information, create questions to gather for attendees and activate the Table Assignments or Event Assignments features.
- Style Event Page - The software will automatically create a layout for your event but you have the ability to customize the colors and fonts.
- Thank you Message - You can customize the automatic thank you messages sent to event registrants.
- Preview & Publish - After all tabs are complete, the software creates your custom URL, QR code, and an HTML embed code if you would like to embed the page into your website. You also can customize a text code if you have text messaging activated.
- You can learn more in this article "How do I create a new event?"
2. Share your event page via email or social media using the URL and QR Code or by embedding it into your website using the html code from the Event page's Preview & Publish step. You can learn more about this in this article "Sharing DonorView Pages and Links"
3. The software also includes an Event Calendar Setup option to be able to share a calendar of all your events. See this article for more: Event Calendar Setup
4. Once you start registering your guests, you will be able to see the registration information on the Events grid. This will show all the transaction information for each registration. Learn more in this article "Where can I see the people that have registered for the event?"
5. You will be able to see and manage your event attendees on the Event Attendance grid. This is also where you can find the responses to Attendee Info Field custom questions you create on your event page - like meal and seating preferences. See more in the Event Attendance Overview article.
6. You can message and communicate with registrants and attendees using the Actions menu on the Event Attendance grid, and you can create Auto Reminders to send reminders before the event and even follow up after the event. You could event create a survey and send a post-event survey to all your attendees. You can learn more about sending surveys to a specific email list in this article "How do I send a survey or form to an email list?"
7. For events that need to assign attendees to specific seats or groups, you can also utilize the Group Assignments or Table Assignments features. Any assignments will also be displayed on the Event Attendance grid.
8. For events that are linked to auctions, the Bidder ID number would also be displayed on the Event Attendance grid. You can learn more about linking events to auctions in this article "Auctions Overview."