If you have the advanced portal activated and you have selected Memberships in the list of options available for the portal, your constituents will be able to see their history of membership transactions.
Note that the member must create their portal account with the same name and primary email as is saved in DonorView. Using a different name or email will not reveal any membership information.
If a constituent has a current membership, they will see the most recent membership listed in the top right corner of the page.
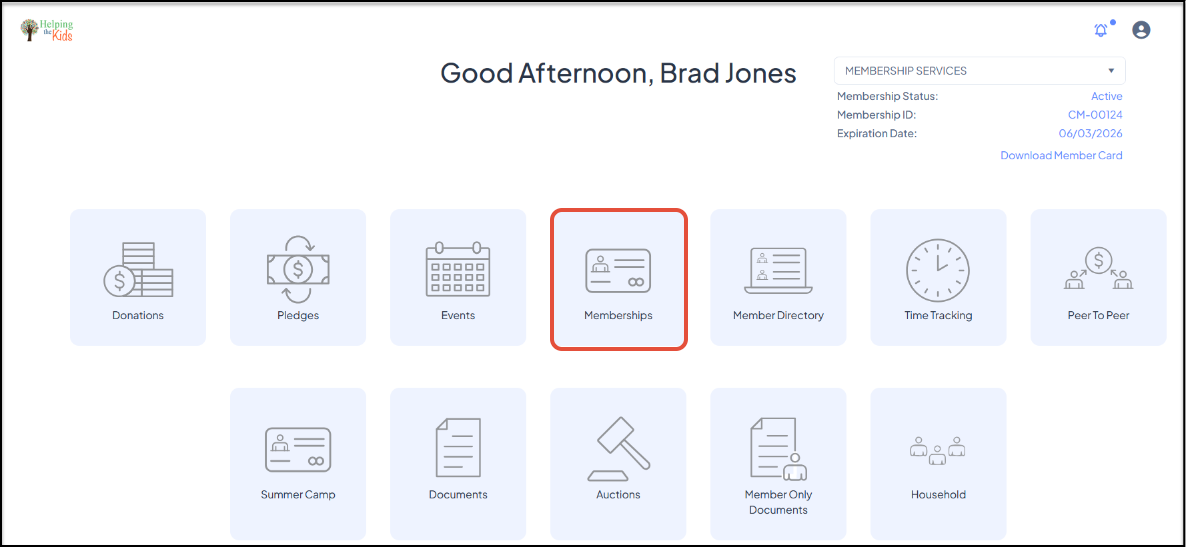
They can click on Download Member Card to download a printable copy of their membership card. The download is a PDF file and will print a membership card approximately 2" x 3" and will include your organization's logo, the member's name, membership level, membership ID, and expiration date.

Clicking on the Memberships icon will open a list of all membership transactions. At the top of the page lists the Current Status and the Current Membership Expiration Date.
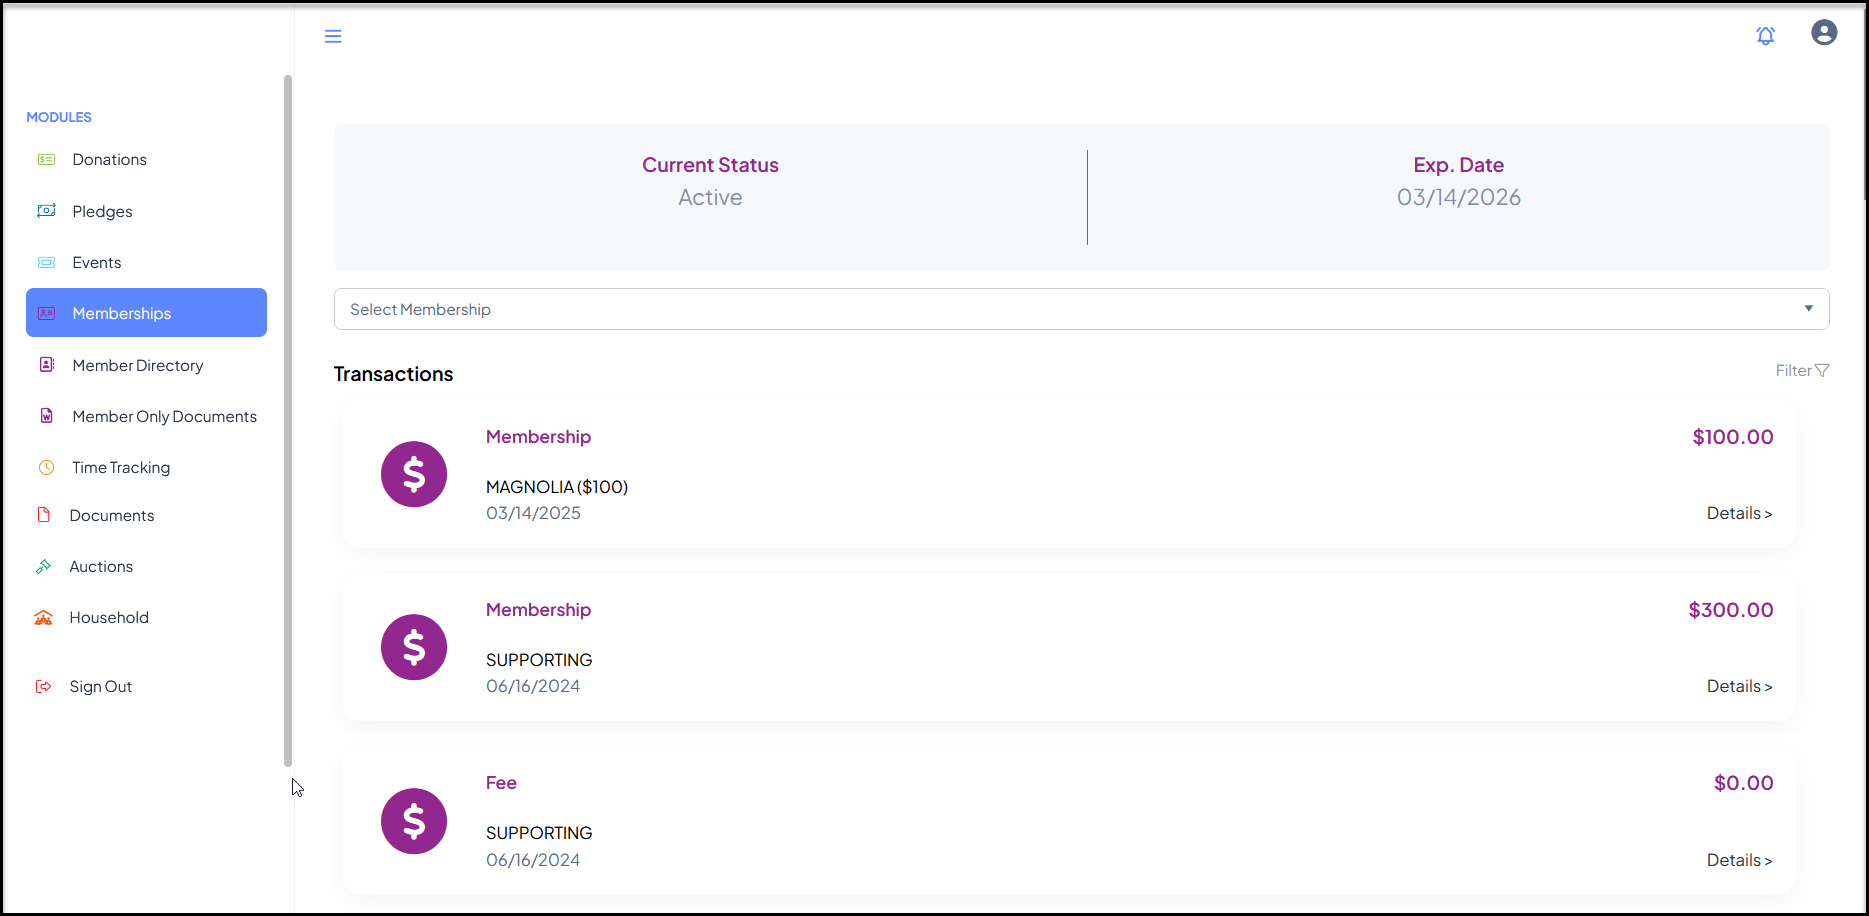
The dropdown list will show all available membership pages, with those the constituent has purchased listed at the top labeled with (Purchased) after the name.
Selecting a membership from the list will show the membership level, the Current Status and the number of days remaining for the membership.
The Purchase Membership button is for purchasing a brand new membership. It will open the membership page, but will populate the member's contact information, but it will not populate the member's membership information.
Clicking on Show Directory will open the link to the membership directory for that page from the portal.
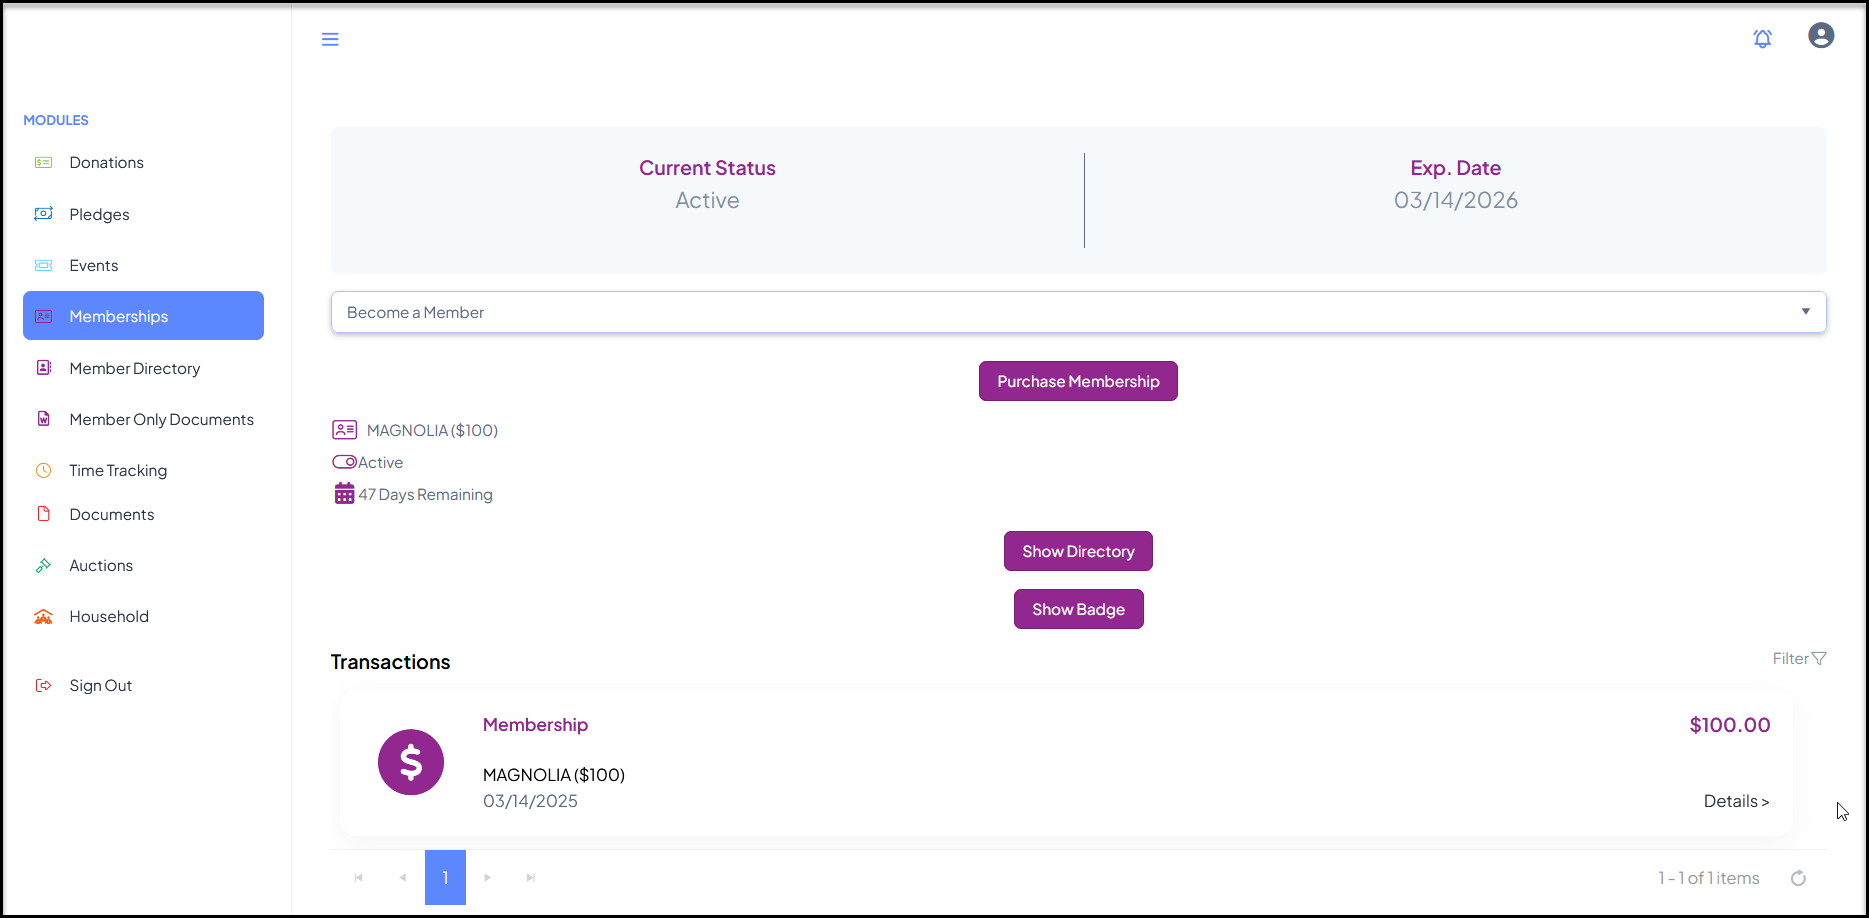
The Show Badge button opens the members badge, which is different from the membership card. It only includes the member's Member Profile ID number, membership expiration date and name. It also includes a QR code which can be scanned using the mobile app to check in a member on the Attendance grid.

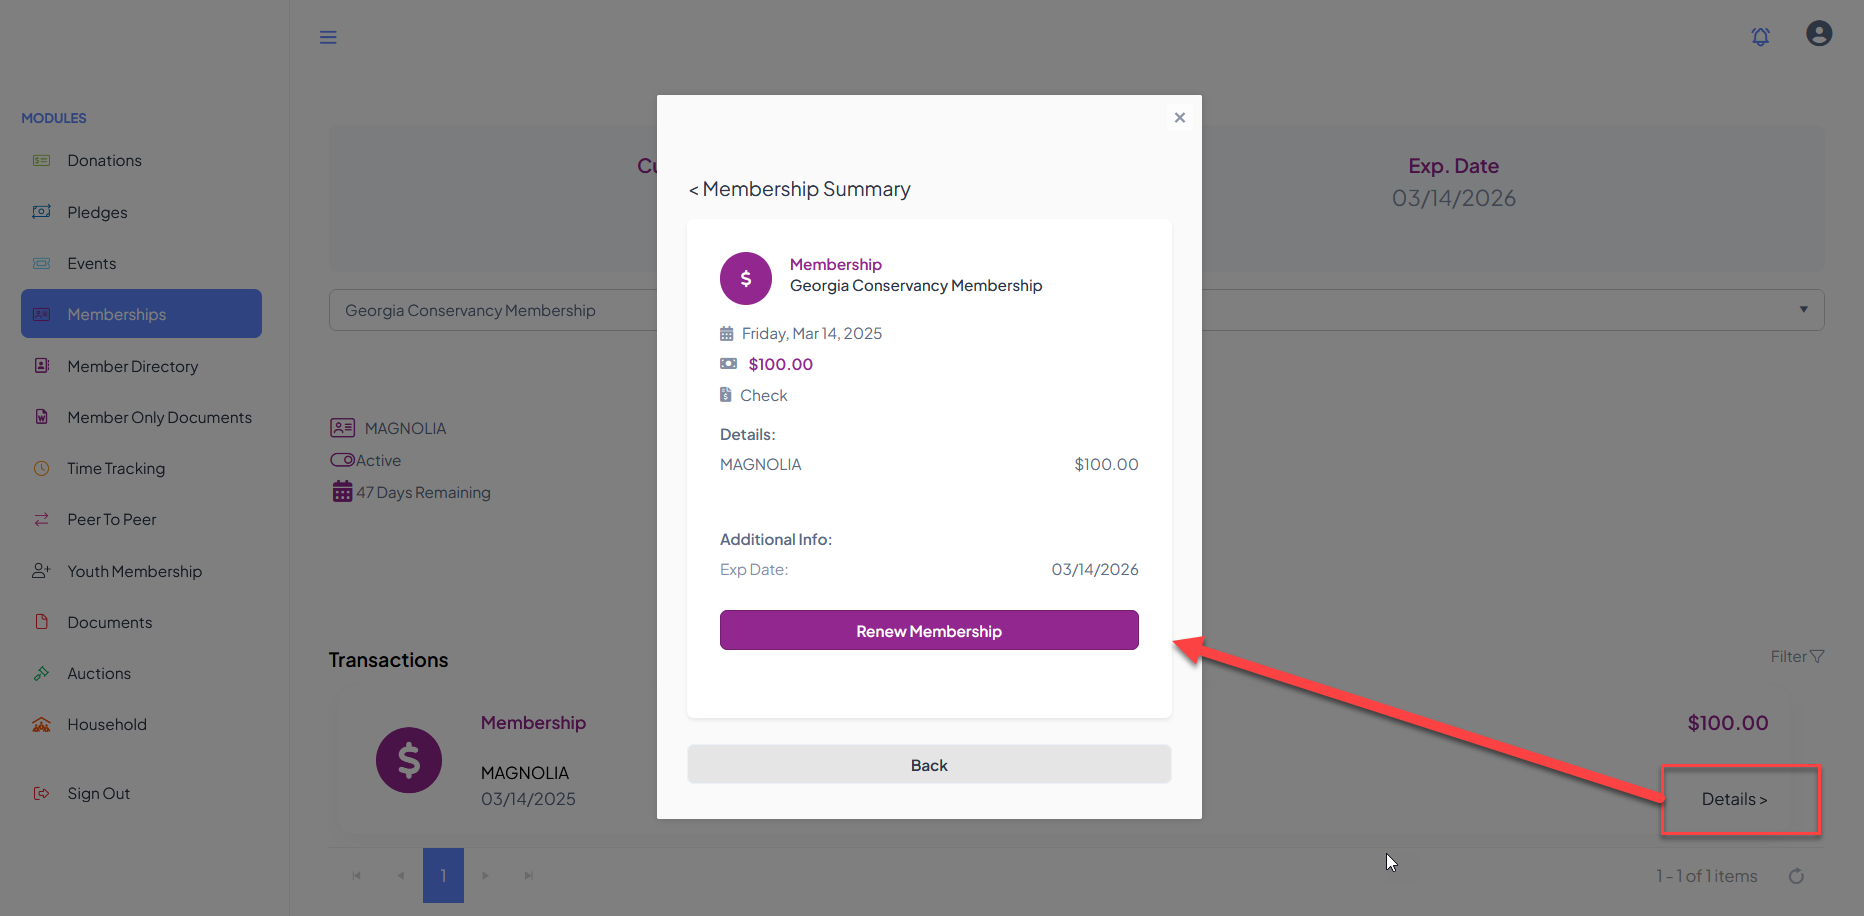
To renew a membership, the member will click on the Details link to open the window and click Renew Membership. This will populate the member's contact information and all the information from the previous membership purchase, including the names of additional members for a group membership.
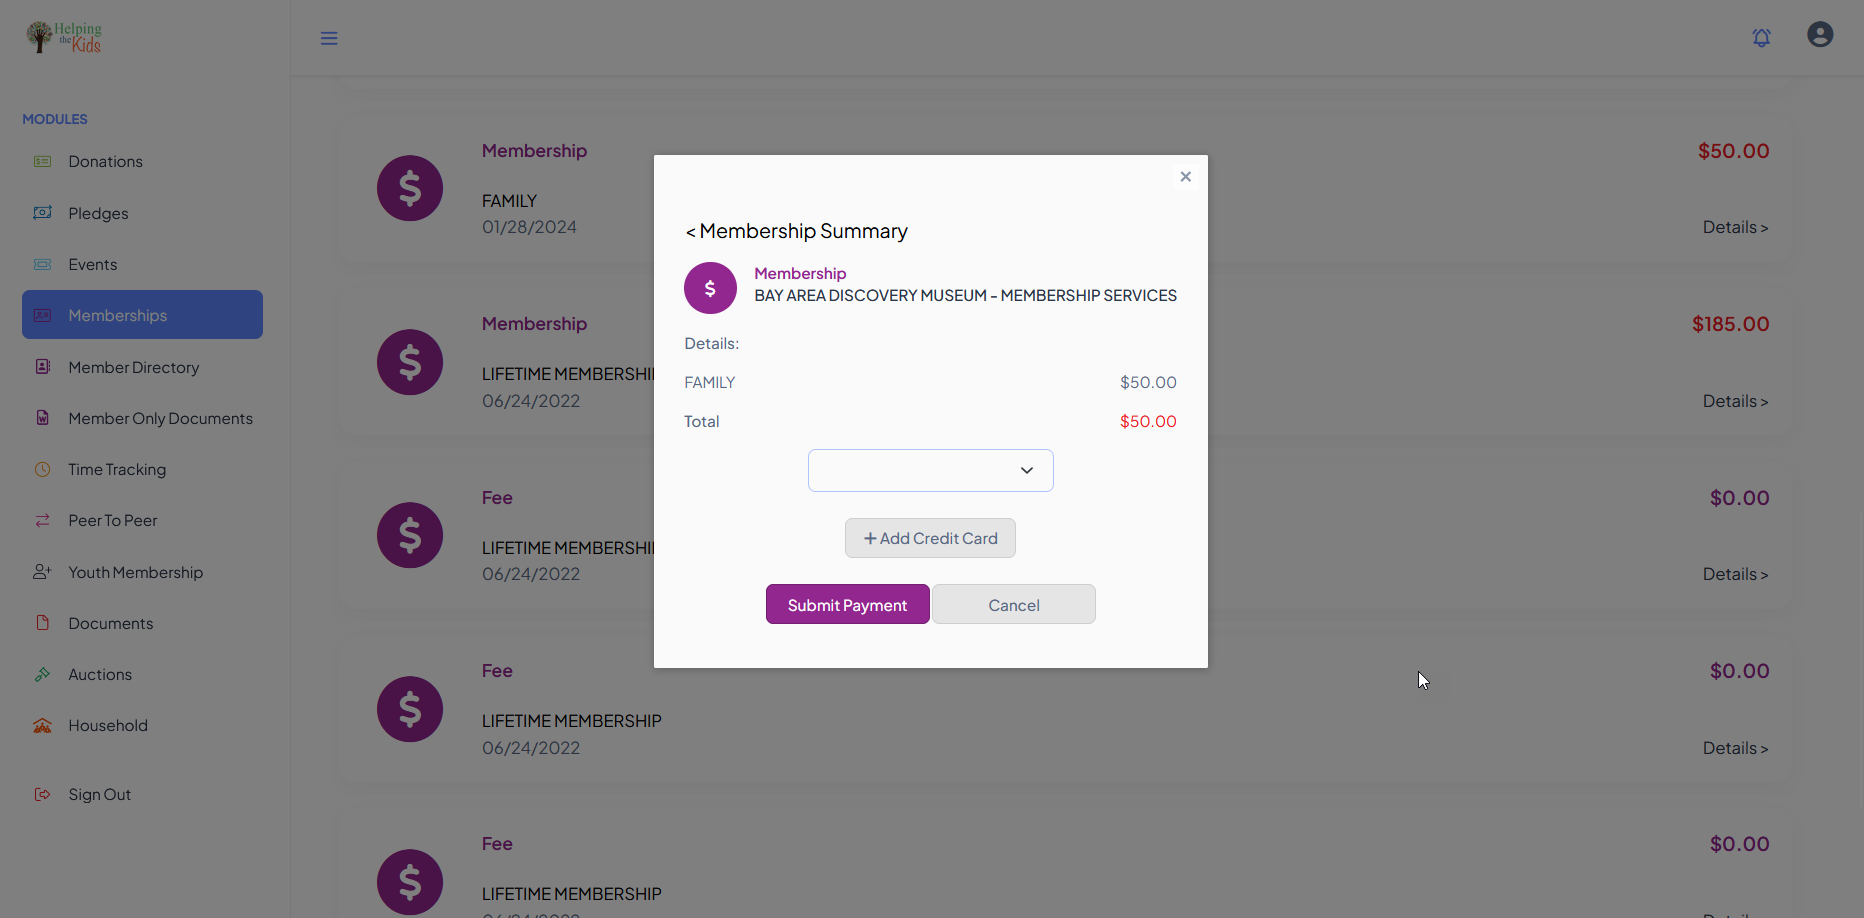
If there is a balance due for the membership, the amount will show as red, and clicking on details will include a link to Pay Membership.

Clicking the link to Pay Membership will open a new window for the member to select a credit card on file from the drop down list or click on +Add Credit Card to add a card to the list and select it.
Once the card number is selected, the member can click on Submit Payment and receive a confirmation and return to the memberships information.
The user can navigate to another module using the links on the left menu or go to the homepage by clicking on the organization's logo in the top left corner.