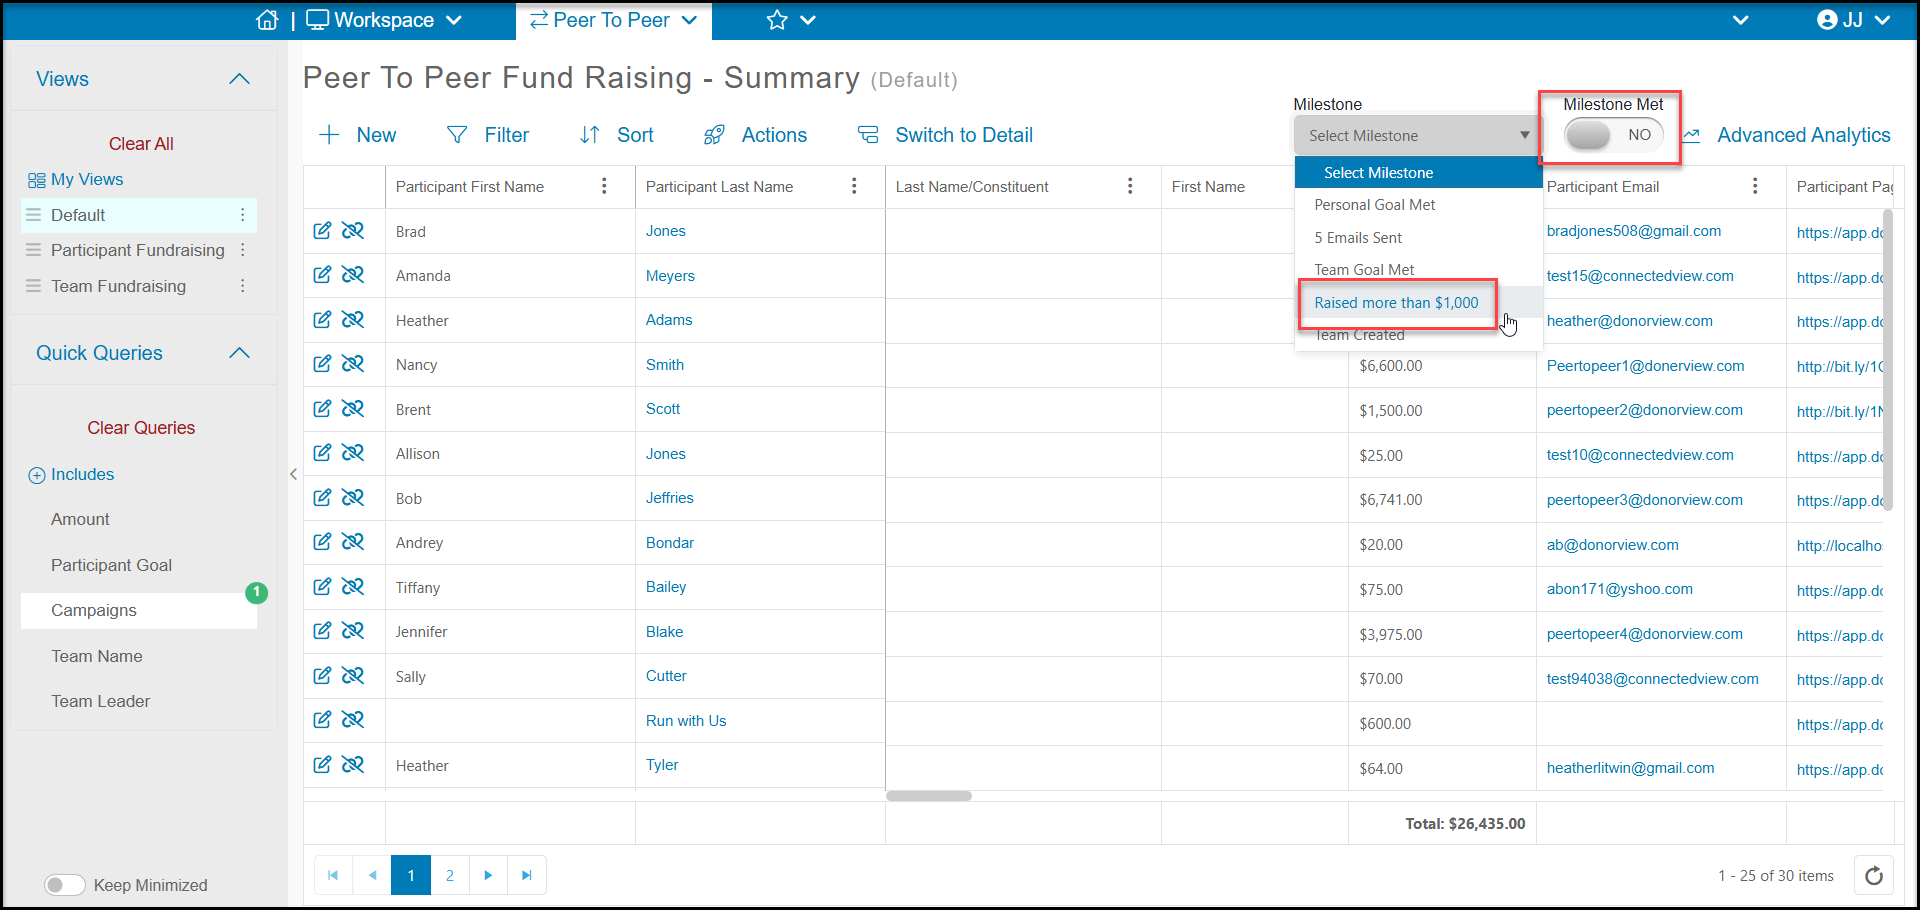
Creating milestones allows you to track progress for specific goals and recognize your participants when they reach those milestones. You milestones should allow you to regularly engage with your participants, even when achieving significant first steps like receiving their first donation or sending their first emails.
The Milestones and Badges grid allows you to see all the milestones you have created. You can create new milestones by clicking on +New, then Milestones and Badges. If you have already created some, you can click on a row to highlight it and select View/Edit to edit the milestone or click on Actions to make a copy.
The grid shows you:
- The Name of your page.
- Which email marketing Template is being used.
- The Status, which will be Email Scheduled once the page is completed.
- The trigger for the milestone under Send Milestone when…
- If the milestone is Enabled to send the badge to the fundraiser
- There is also a trashcan icon if you wish to delete a milestone
When a fundraiser or team reaches the set milestone, a badge will be applied to their fundraising page and they will receive an email notification that they have achieved that milestone.
Steps for Setting Up Milestones & Badges
1. Click on +New to create a new milestone or use the Actions menu to copy an existing milestone.

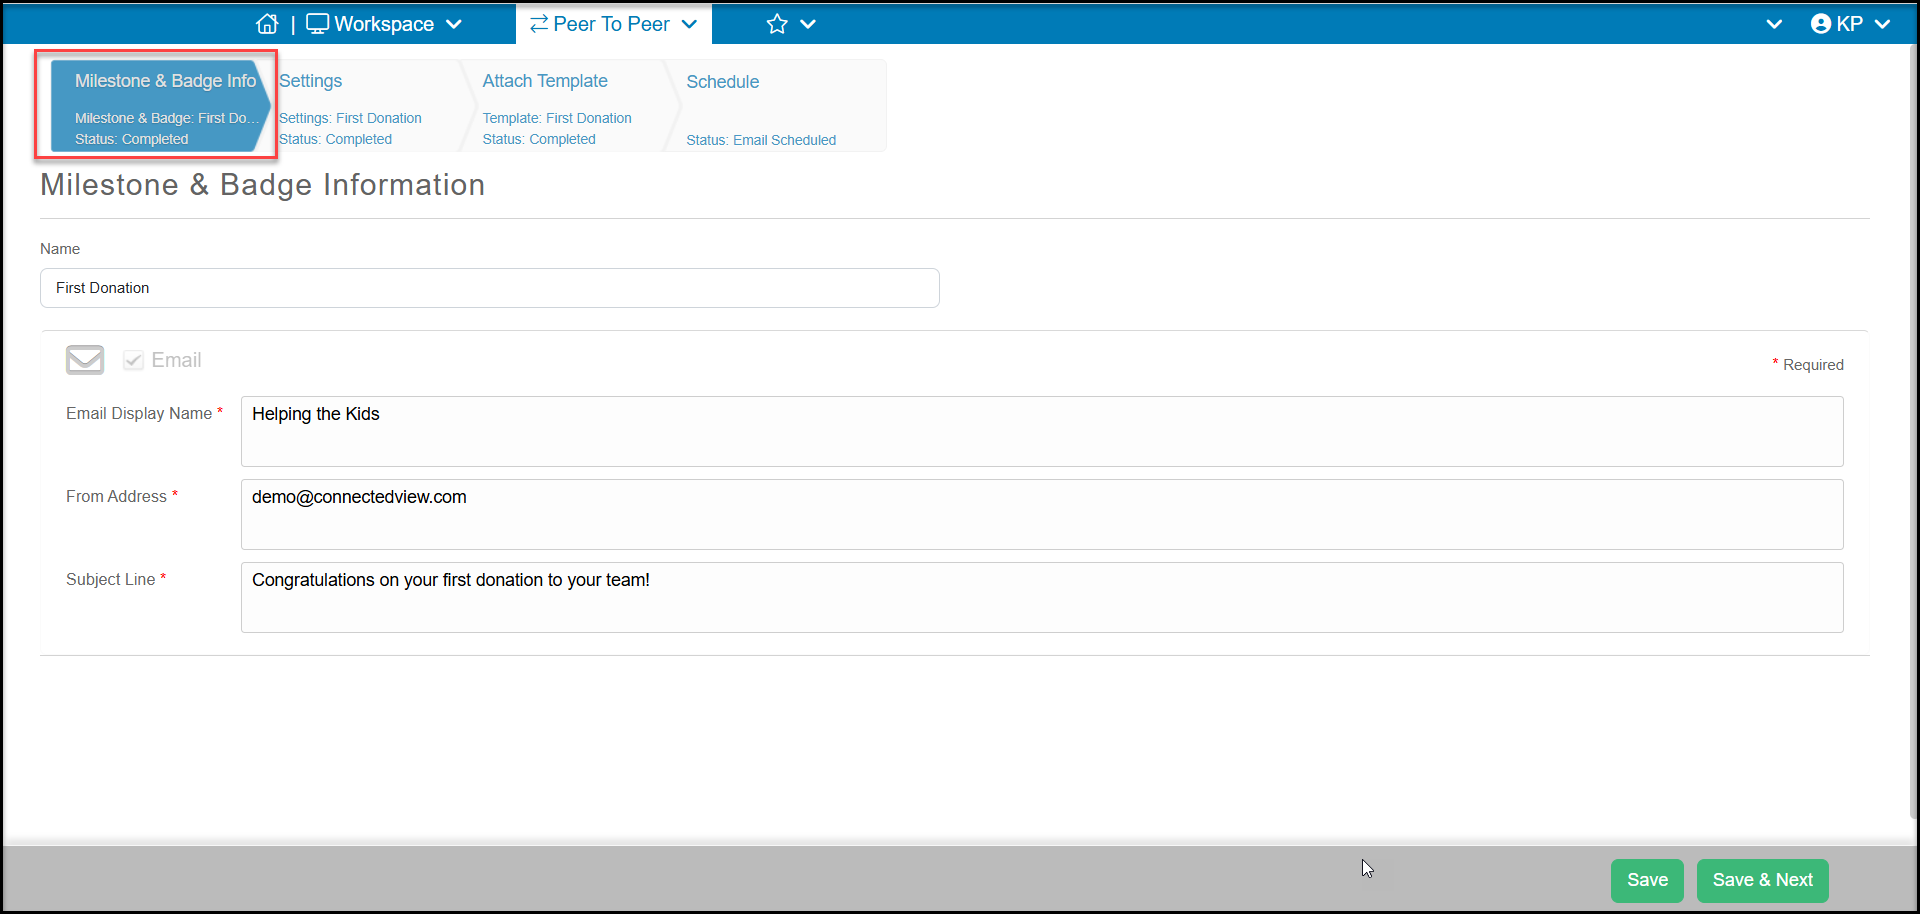
2. The Milestones & Badges page setup is similar to an email campaign and has four steps (tabs). The first is the Milestone & Badge Info tab. On this tab you will create a Name for this milestone and add the email sender info. Click Save & Next to go to the next step.
3. The second step is the Settings. On this step at the top of the page, you can check the boxes next to your P2P campaigns you wish to activate this milestone.
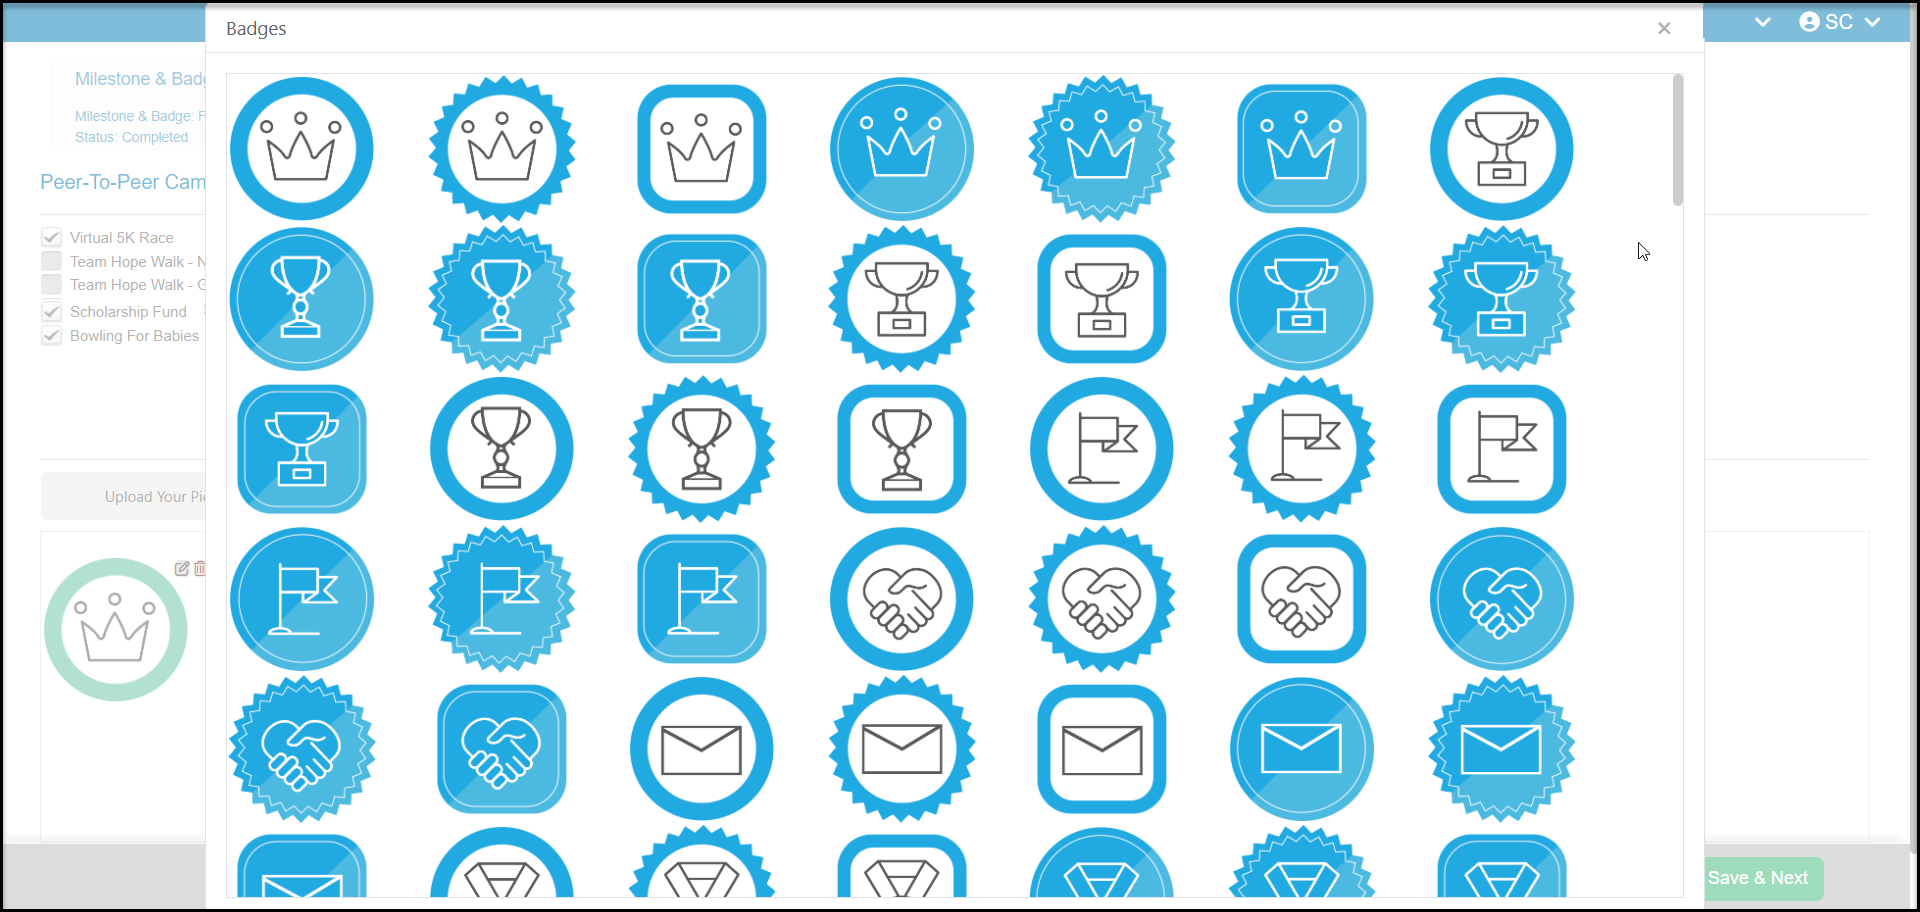
a. This is also where you determine what badge will be added to the fundraiser or team's page. You can Upload Your Pictures from your computer or you can click on Select From Library. Note that uploaded images should be less than 1 MB and will display in a 150 x 150 pixel thumbnail on the page.
b. You can edit or delete and badge that has been added by using the edit or trash can icons in the top right of the badge image.

c. Choosing Select From Library will open an image library with several options in blue, gold, green, orange and grey. Click on your selection then click on Select from the bottom of the page to upload the badge and use it for your milestone. You can add more than one badge, and each badge will be added to the page when the milestone is achieved.
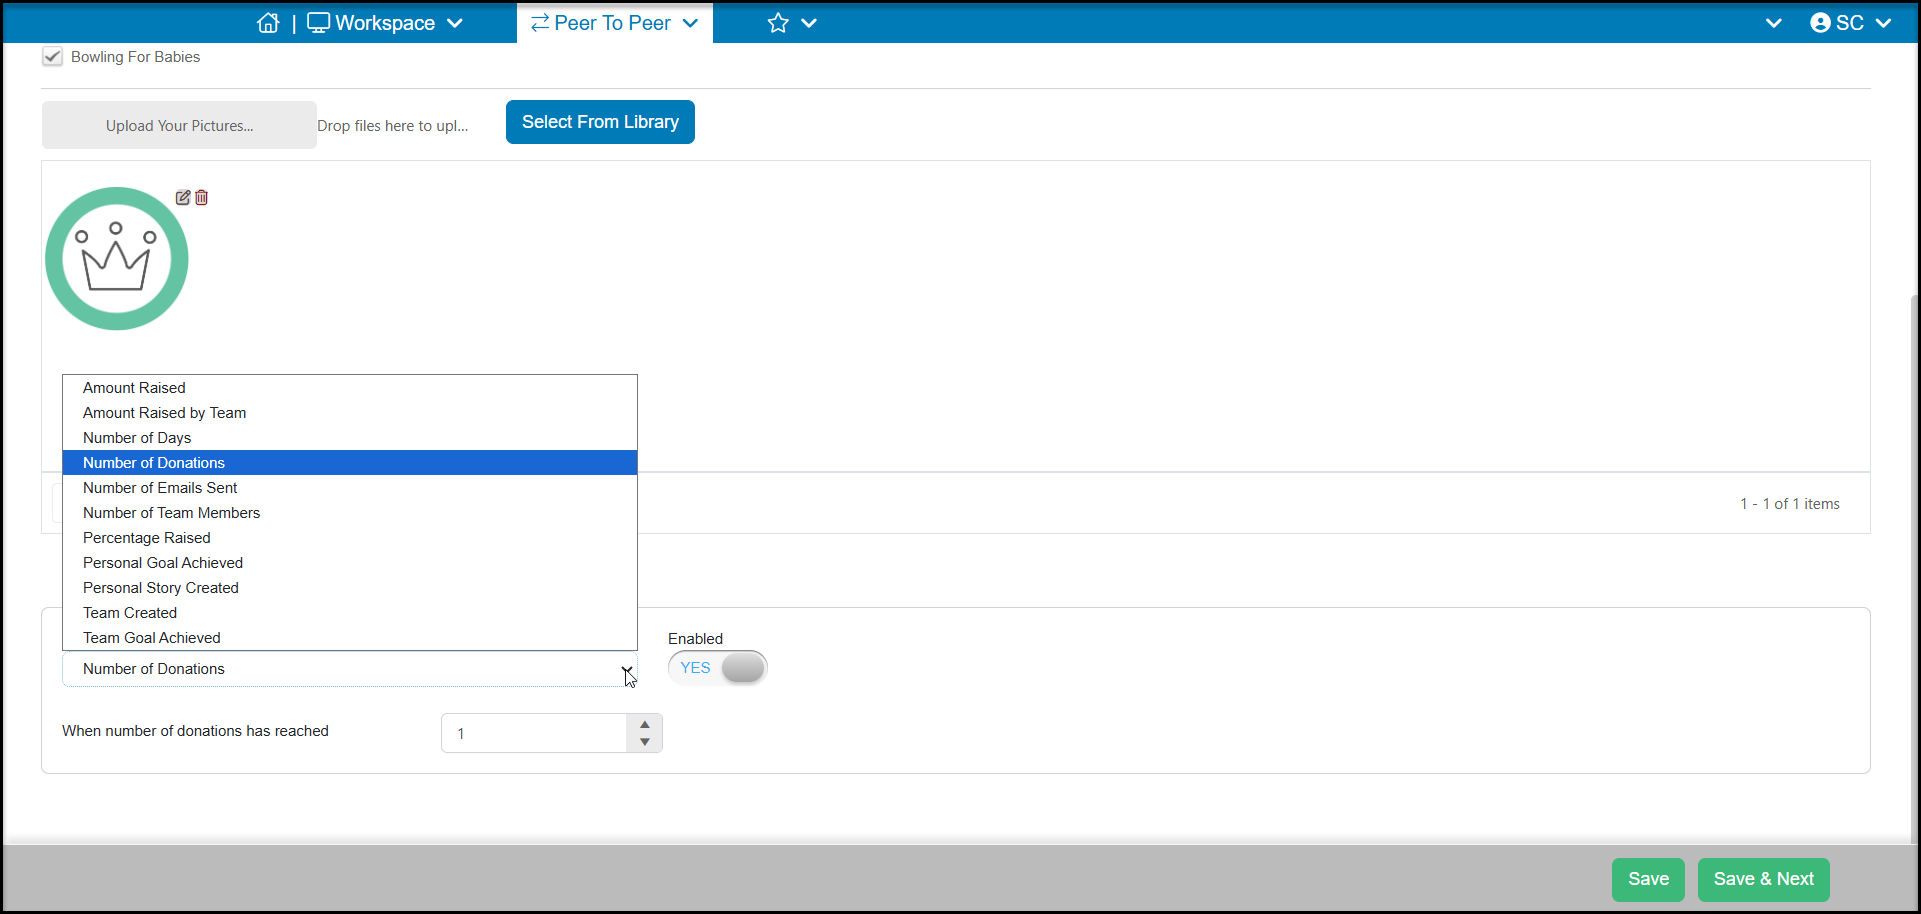
4. With your badge image identified, you can select the milestone trigger to generate the message and badge at the bottom of the page.
a. Amount Raised is the amount of donations raised by an individual participant fundraiser.
b. Amount Raised by Team is the amount of donations raised by the Team and everyone on the team.
c. Number of Days is a trigger to send a notice if the participant has NOT reached their goals. You can read more about this feature in this article: https://support.donorview.com/en/support/solutions/articles/9000237186-how-can-i-notify-fundraising-participants-when-they-haven’t-reached-their-goals-
d. Number of Donations is the total number of transactions that have been recorded for that individual participant's page.
e. Number of Emails Sent is the total number of emails that the participant fundraiser has sent using the portal's Send Email feature.
f. Number of Team Members is the number of individual fundraising participants who have joined the team. They do not have to have any donations yet.
g. Percentage Raised is the percentage they have raised towards their fundraising goal as shown on their page.
h. Personal Goal Achieved will recognize when the individual fundraiser reached their fundraising goal.
i. Personal Story Created will recognize entering and saving text in the Personal Story area of the fundraiser's page.
j. Team Created will recognize the creation of a team page.
k. Team Goal Achieved will go to all the team members and the team page to recognize achieving the team fundraising goal.
5. Be sure to mark the milestone as Enabled YES to activate it.
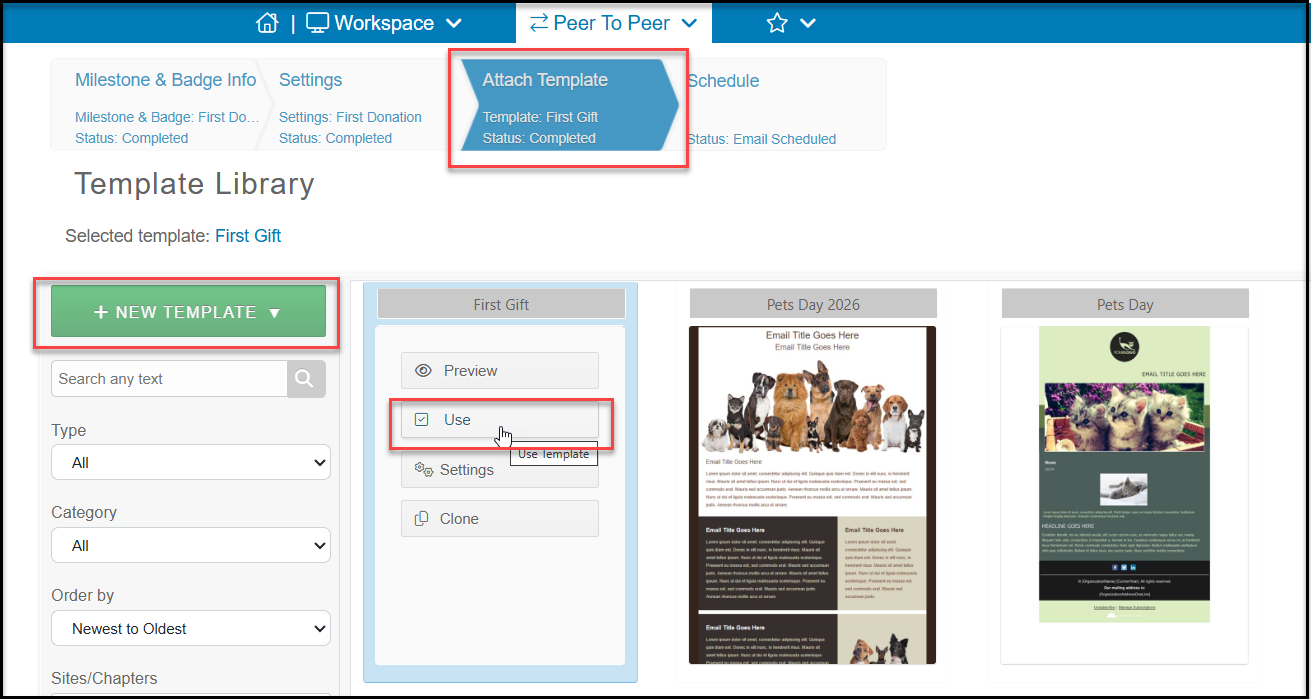
6. In the next tab you will select or create an email template to send the fundraisers when they achieve the milestone. You can use an existing template by clicking on USE on the desired template or you can create a brand new template with +New Template.
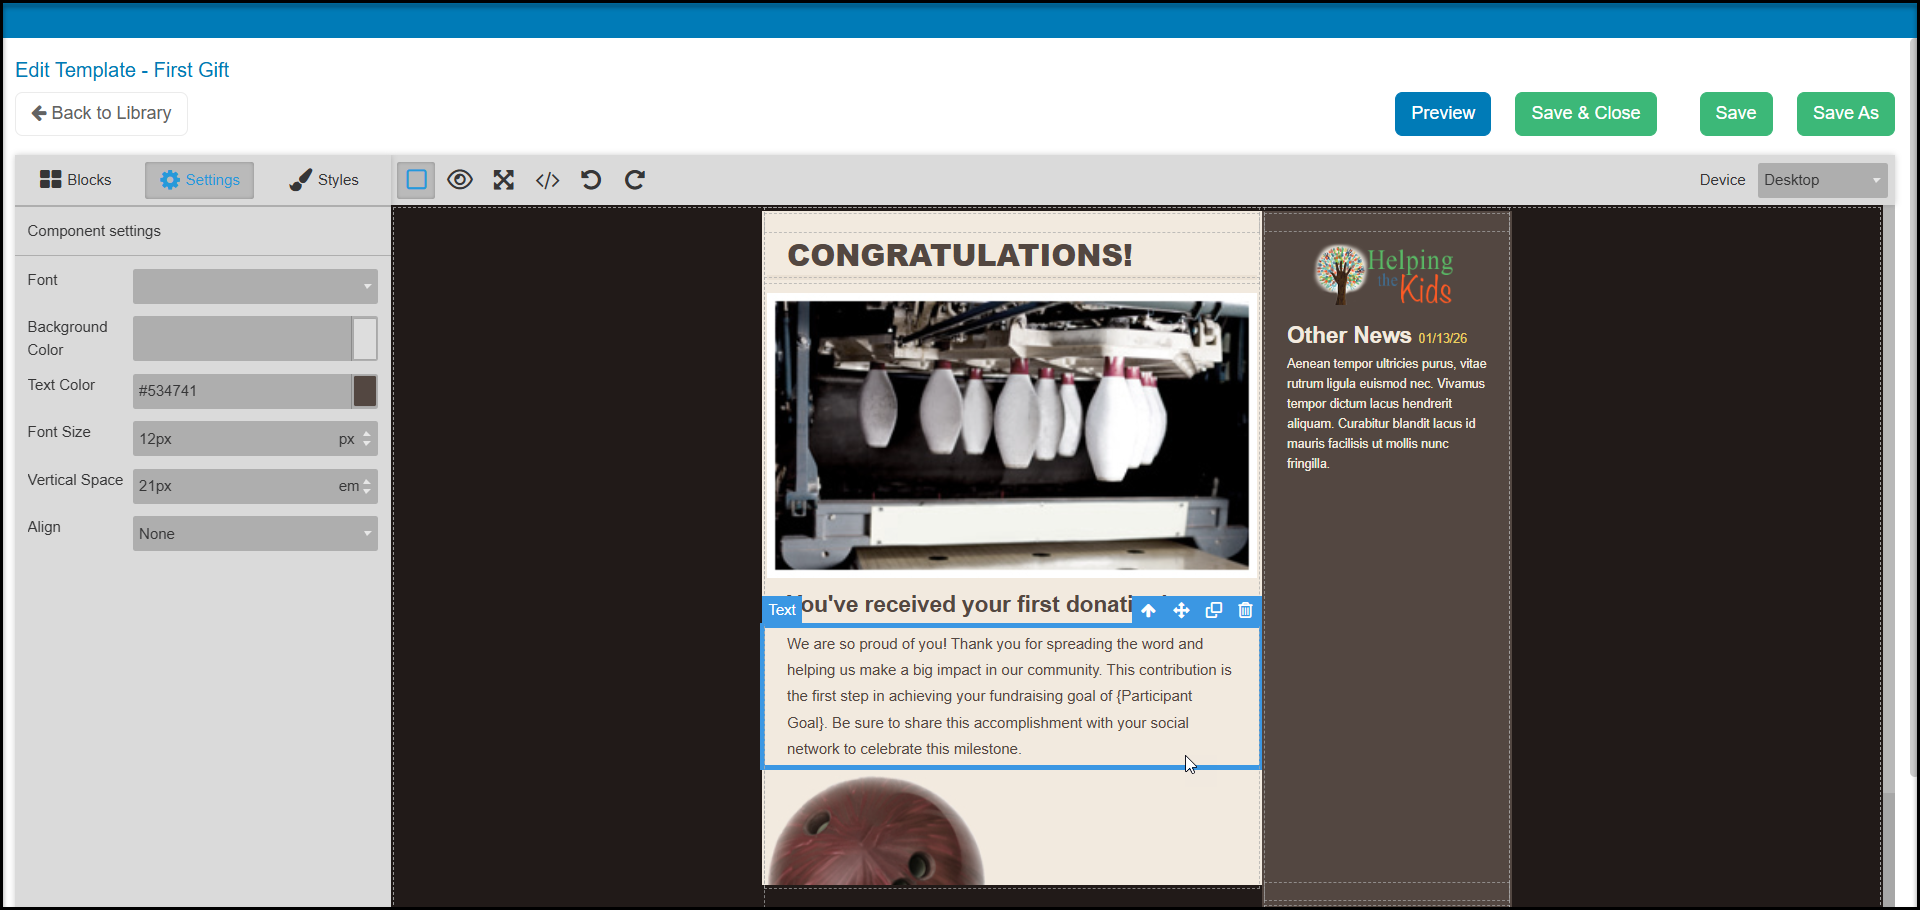
7. In your template you can customize the message to the recipients and include information about the fundraiser or team with the mail merge fields. The fields available come from the P2P Campaign Dashboard and include fields like Participant Name, Participant Goal, and Team Goal. Click Save & Close when you have completed your editing to go to the last step.
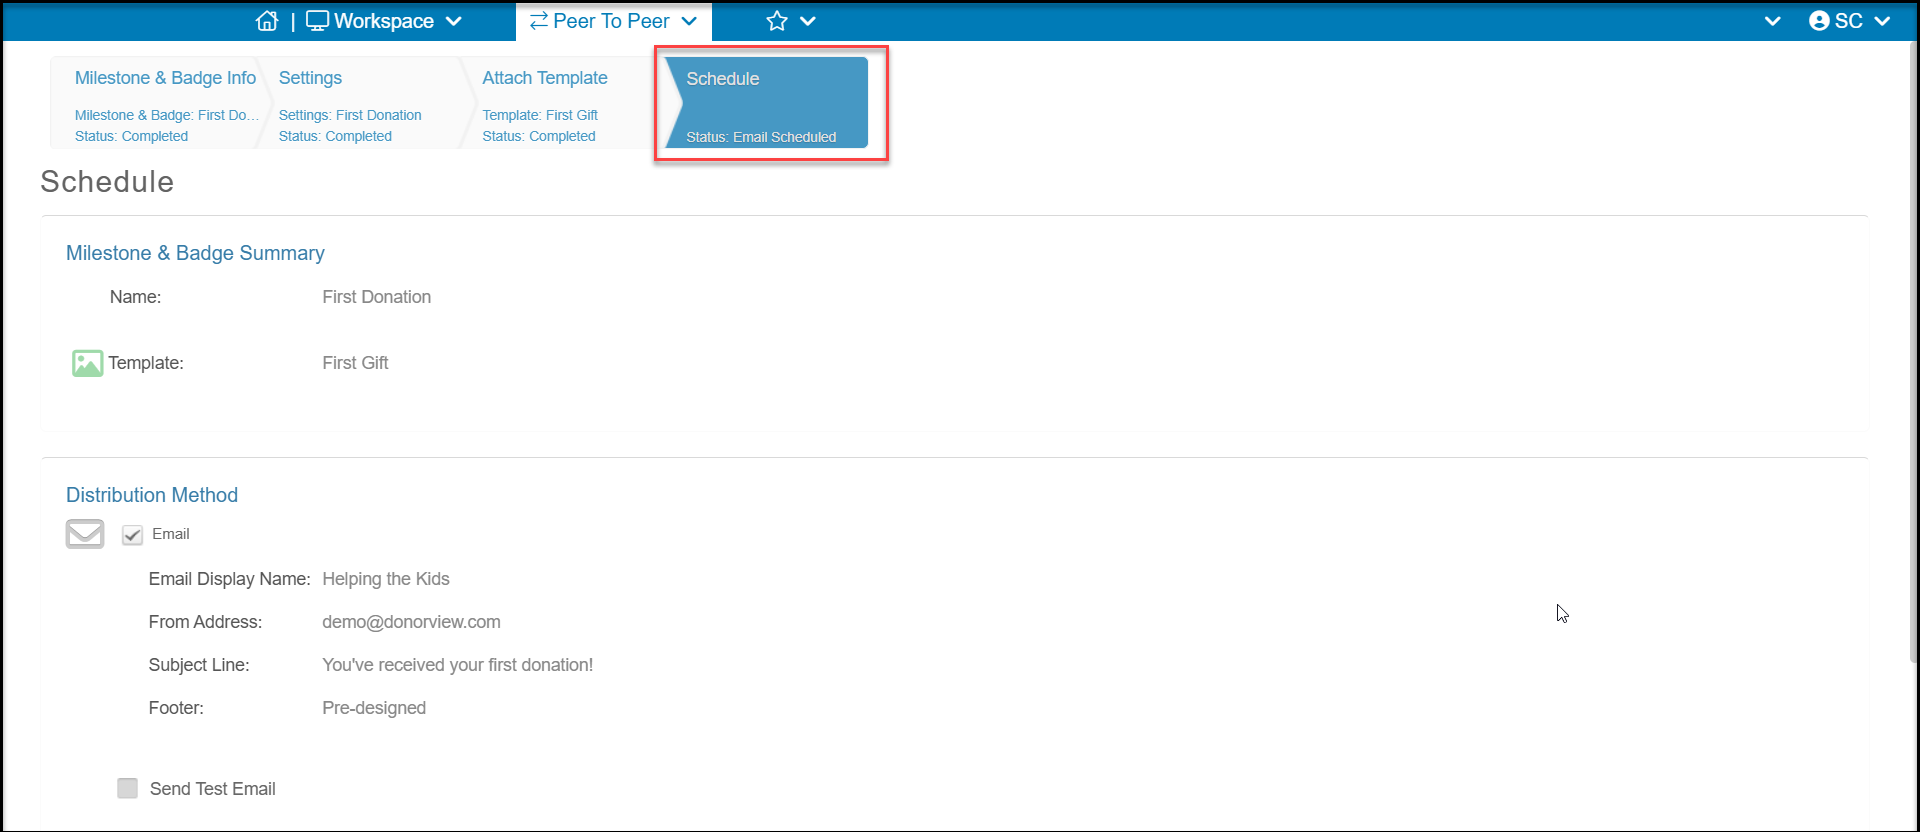
8. On the last tab, Schedule, you can see summary information about the name, template selected and email sender information. You can send a test email if desired to check the images and links if applicable. As long as the milestone has been marked as Enabled on the Settings tab, the message will be send first thing in the morning after the fundraisers reach the milestone and the badge will be applied to their fundraising pages.
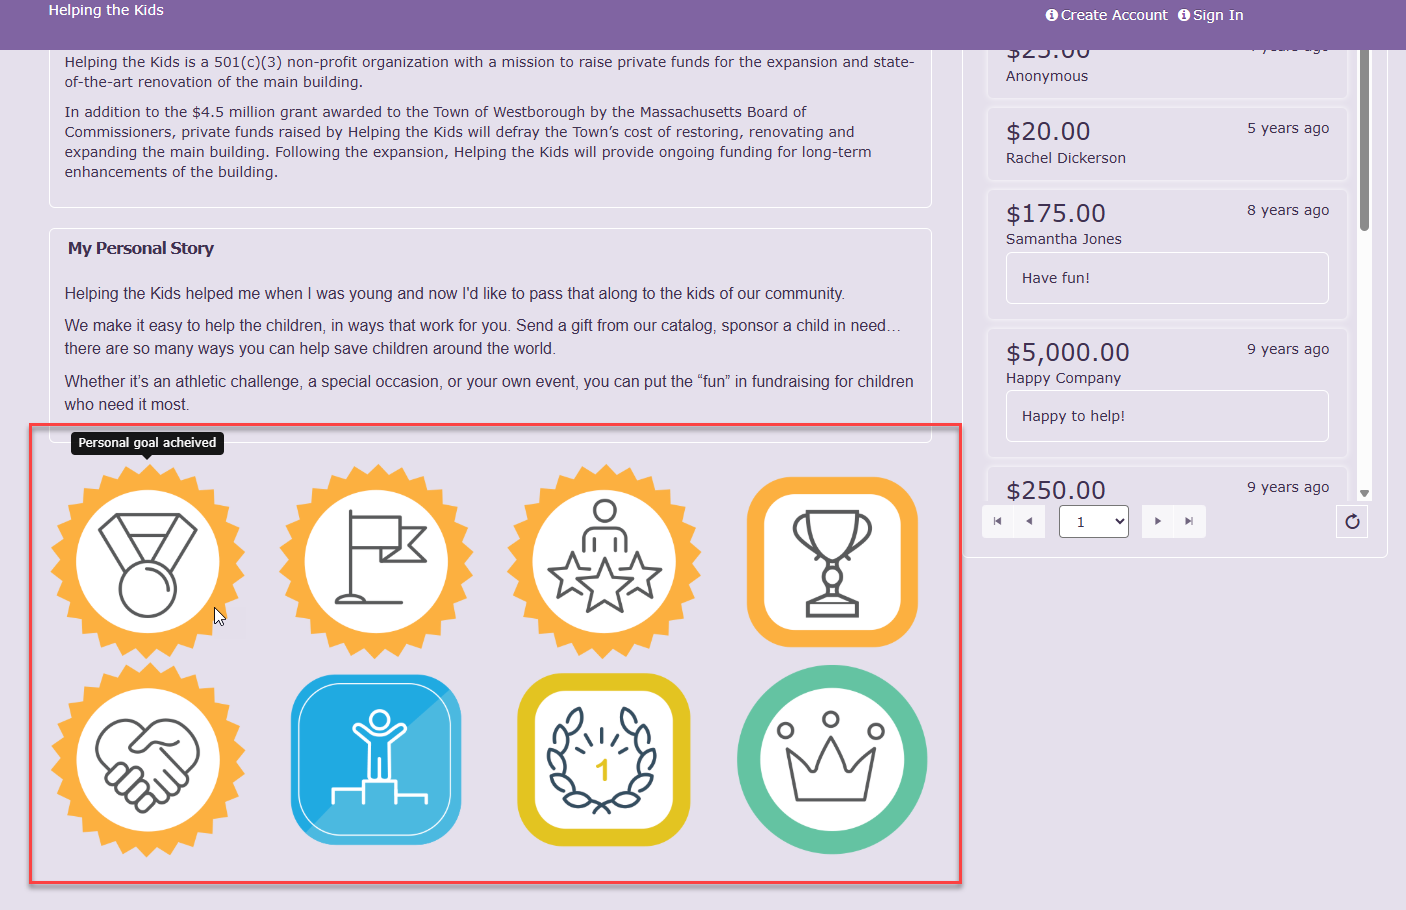
9. Visitors to your fundraisers and team pages will be able to see the badges earned. Hovering over the badge will reveal the milestone that was achieved.
10. You can also apply milestones to the P2P Fundraising Dashboard to see who has or hasn't achieved a milestone you have established for that campaign.